WebZFS
WebZFS Setup
Prerequisites:
- Linux or FreeBSD with ZFS support
- Python 3.11+
- Node.js v20+ and npm
- ZFS utilities (zpool, zfs, zdb)
- smartmontools (smartctl)
- sanoid (optional)
- smartd (optional)
Run:
git clone https://github.com/webzfs/webzfs.git
cd webzfs
chmod +x install_linux.sh
sudo ./install_linux.sh
The installation script automatically:
- Creates a dedicated webzfs system user
- Installs the application to /opt/webzfs
- Installs all dependencies and builds assets
- Configures sudo permissions
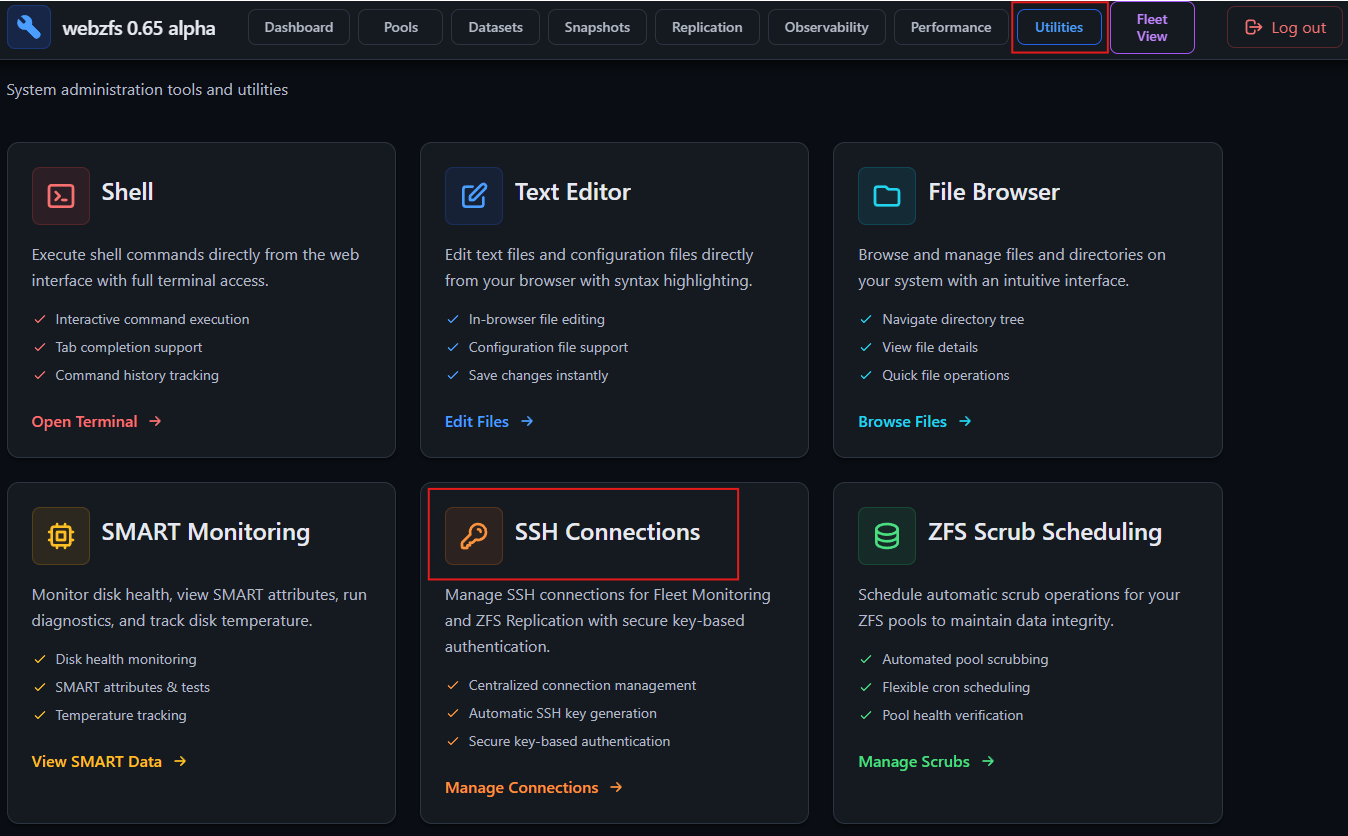
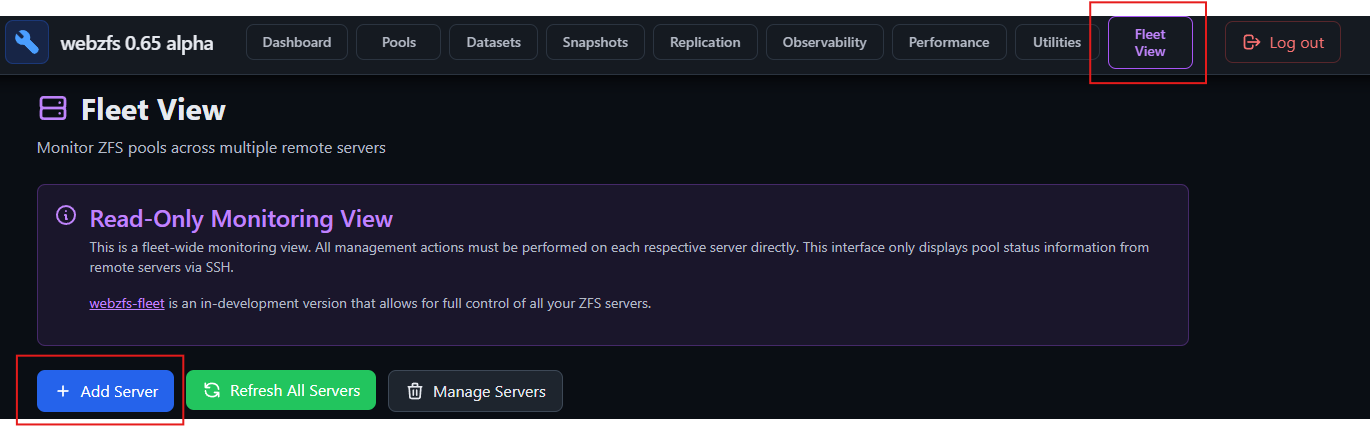
Add Server to Fleet View
-
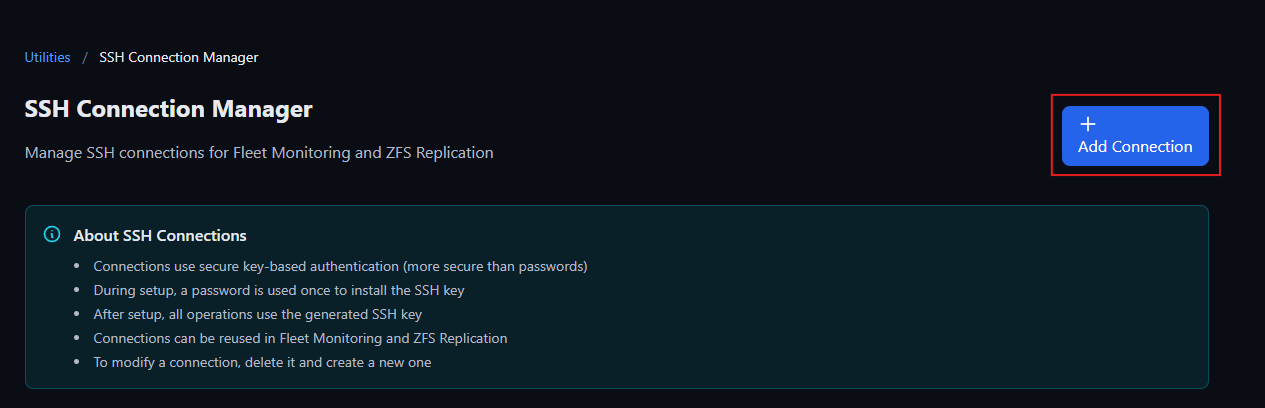
Create a SSH connection to the server you want to add. For the ssh connection to be successful make sure you can authenticate to the server with password (sshd_config:
PasswordAuthentication yes, you can change this later if this is not your default config).Also make sure sudo can execute ZFS commands without being prompted for a password (no CLI interaction), you can do this by addding this line to the sudoers file in
/etc/sudoers:# To use webzfs %sudo ALL=(root:root) NOPASSWD: /sbin/zfs, /sbin/zpool, /usr/sbin/zfs, /usr/sbin/zpoolAfter this you can proceed with the setup in the webZFS interface:
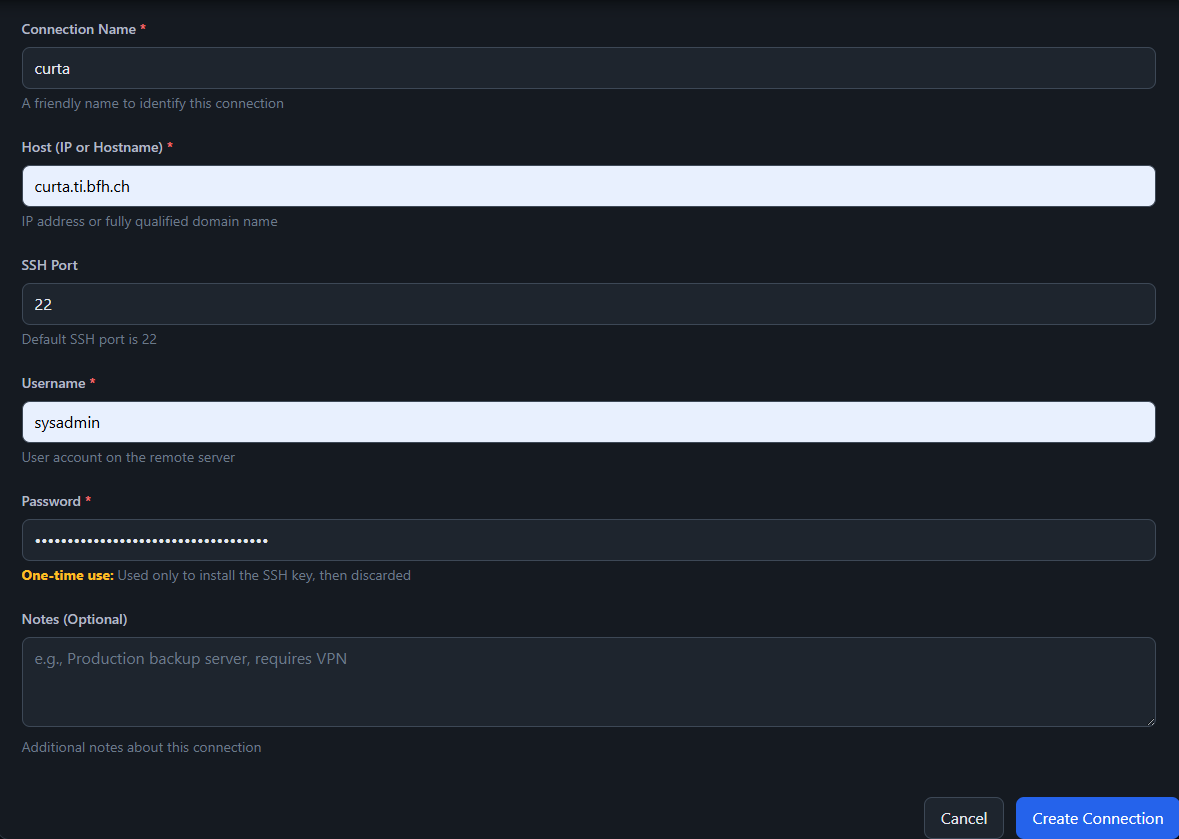
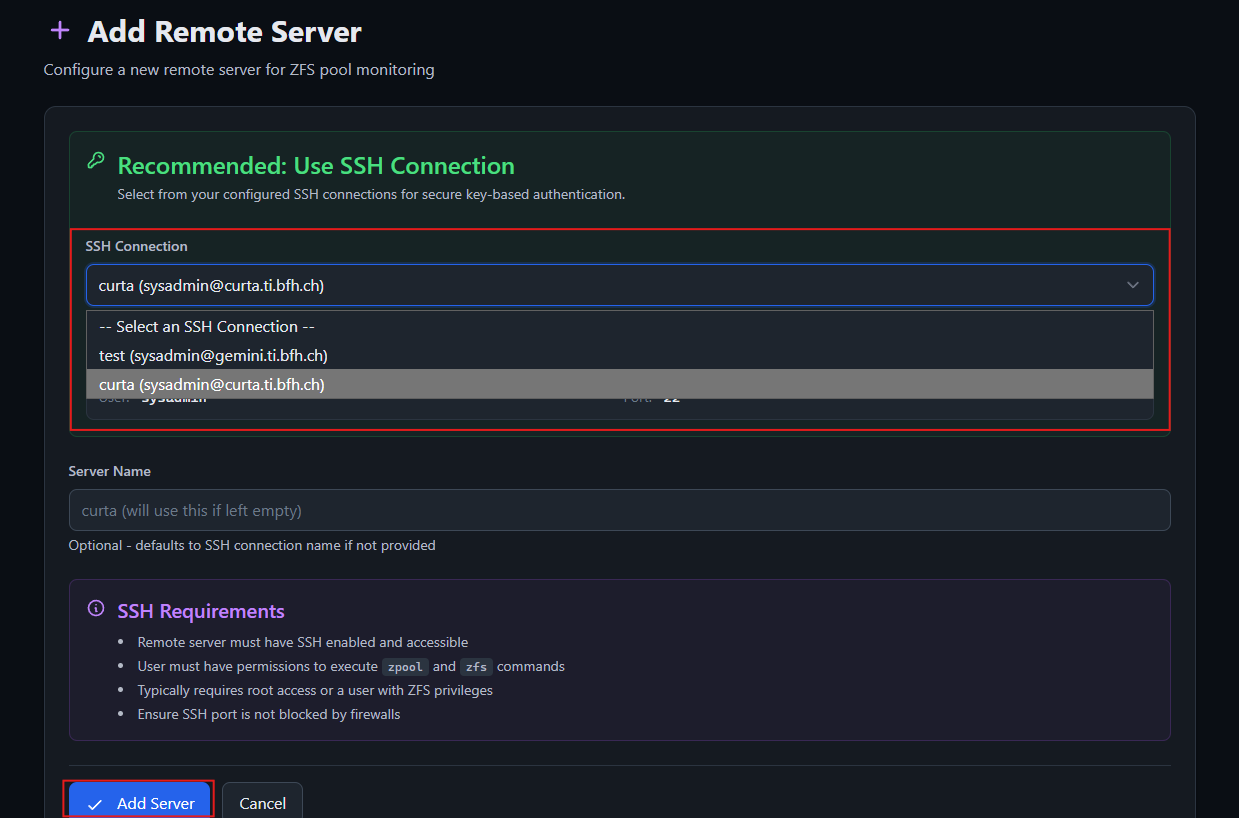
 Fill it up like so:
-
Add the server to Fleet View. Go to Fleet View section and click on the '+ Add Server' button.
Since you created a ssh connection for this specific machine, there's no need to fill out this form, just select it from the dropdown menu and click on 'Add Server':
-
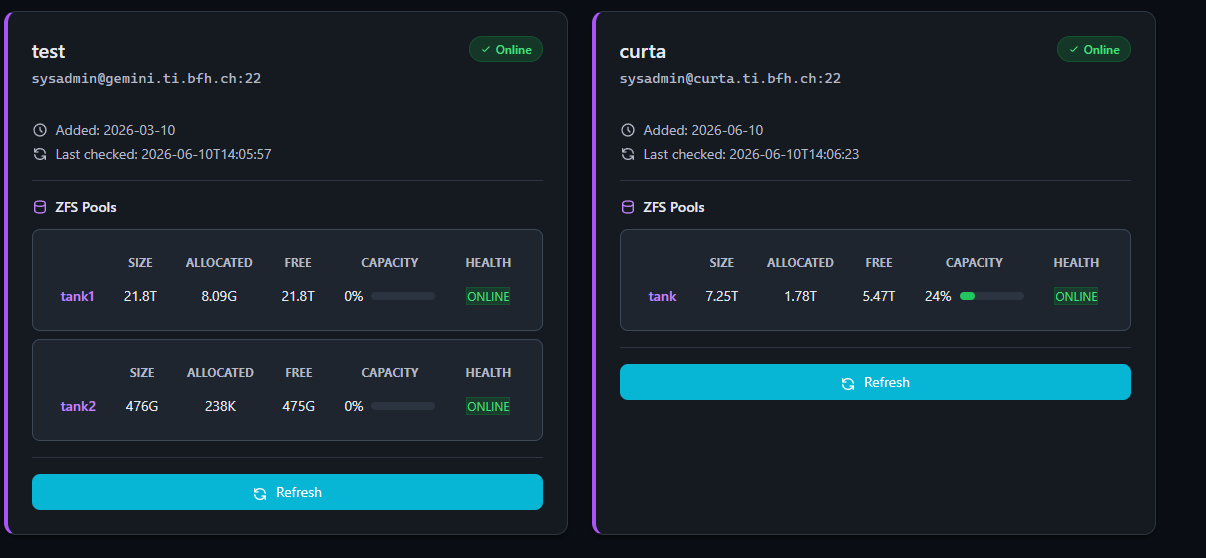
All done, now you should see your remote machine with their respective ZFS pools like so: